Getting your patients using the Patient Portal
There are two primary ways for a patient to join your pharmacy’s Patient Portal. Whether they are prompted automatically after a service or you proactively invite them to join, the process is designed to be quick and user-friendly.
Method 1: Automatic Invitation (Post-Appointment)
Section titled “Method 1: Automatic Invitation (Post-Appointment)”The most common way patients register is as a follow-up to a clinical interaction.
- The Trigger: Whenever a patient books an appointment online or completes a walk-in appointment in-branch, the system automatically sends them a confirmation/follow-up email.
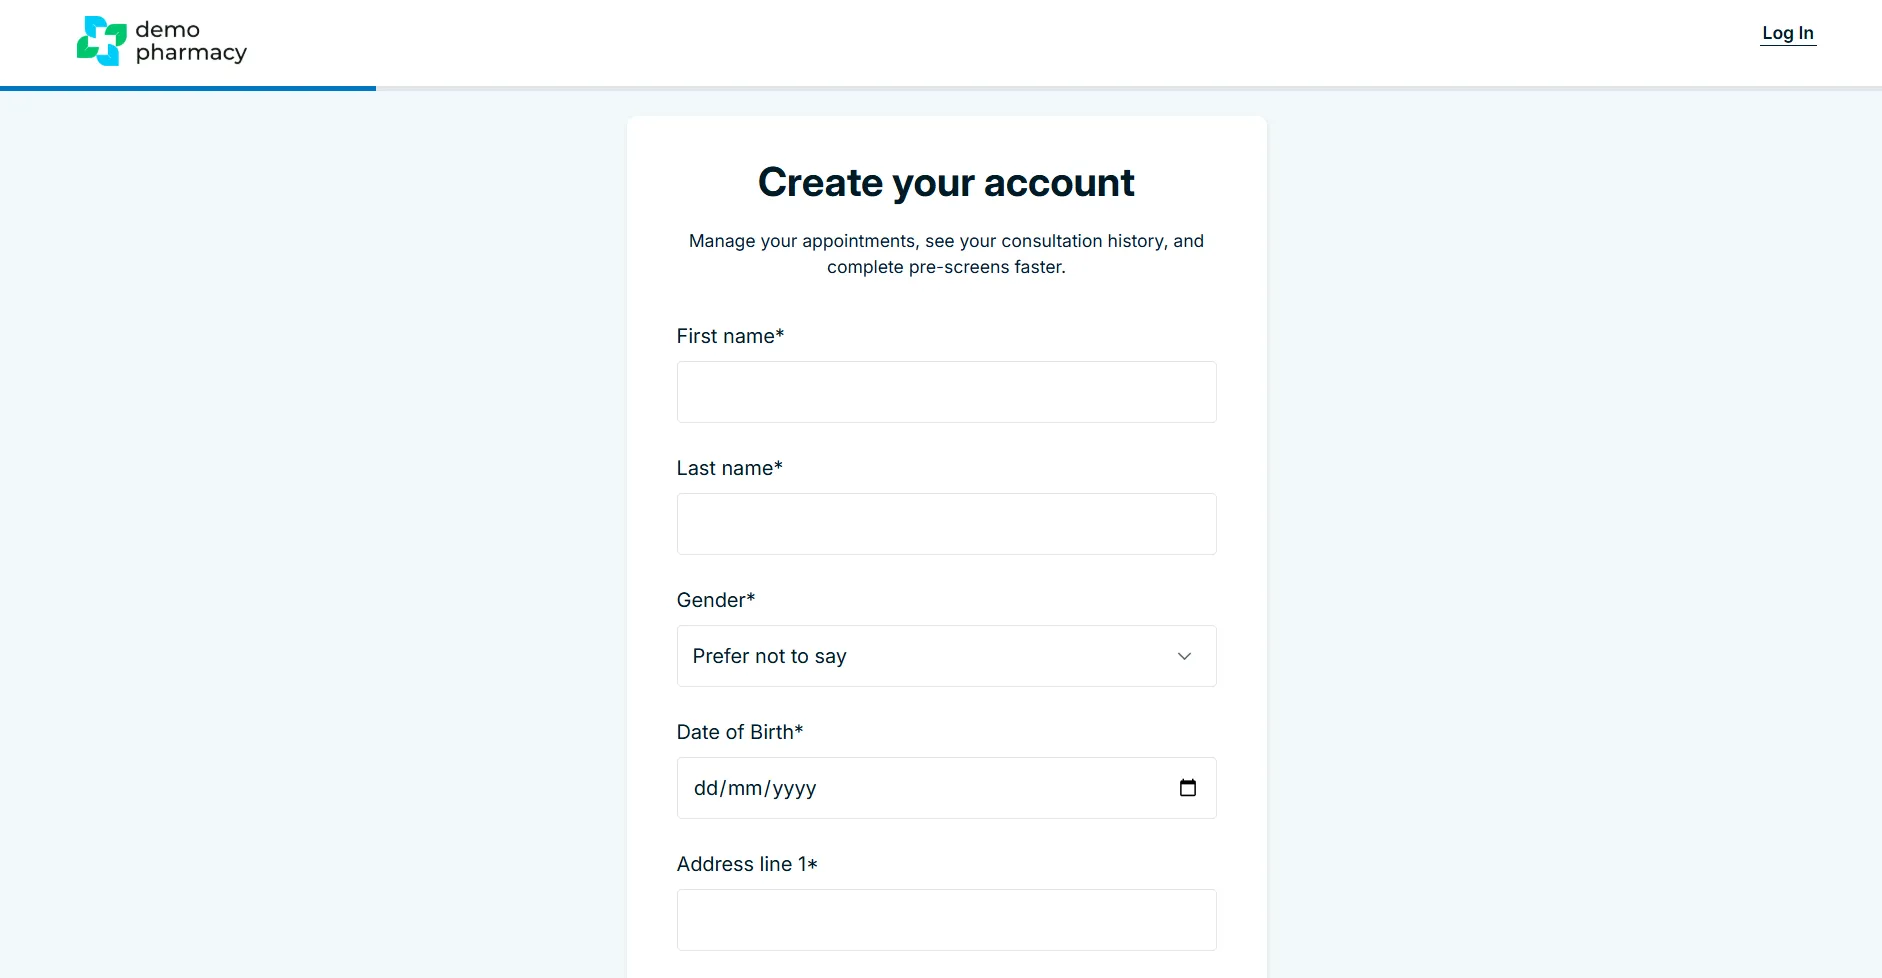
- The Call to Action: Within this email, the patient is invited to “Create an Account” or “Join the Patient Portal.”
- The Benefit: By clicking this link, the system already recognises their recent details, making the sign-up process almost instantaneous.
Method 2: Direct Pharmacy Invitation
Section titled “Method 2: Direct Pharmacy Invitation”You can also proactively encourage patients to sign up, even if they haven’t booked a service yet. This is a fantastic way to build a digital patient list and promote your services via marketing materials in the shop.
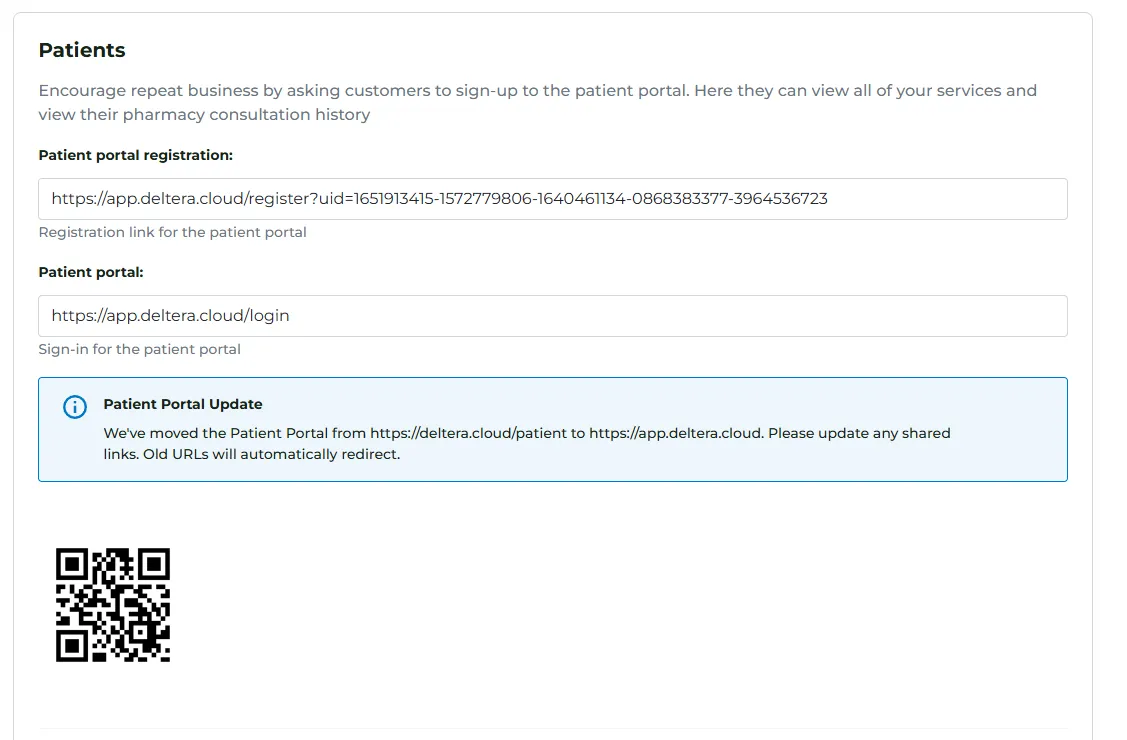
You can provide patients with a direct registration link or a QR code that they can scan on their smartphone while waiting in the pharmacy.
How to find your Registration Link and QR Code:
Section titled “How to find your Registration Link and QR Code:”- Log in to your Head Office Account.
- Click on your Pharmacy Logo in the top right-hand corner to access System Settings.
- Scroll down to the Patient Portal section.
- Here, you will find:
- Your Unique Link: A URL you can copy and paste into emails, social media posts, or your website.
- Your QR Code: A downloadable image that you can print on posters, business cards, or “shelf-talkers” around the pharmacy.