Signing PGDs and Managing Staff (Superintendent/Manager Guide)
As a Superintendent Pharmacist or Authorising Manager, your role involves two primary responsibilities: formally authorizing service protocols (PGDs) and managing the staff members who will deliver them.
Step 1: Set Up Your Professional Signature
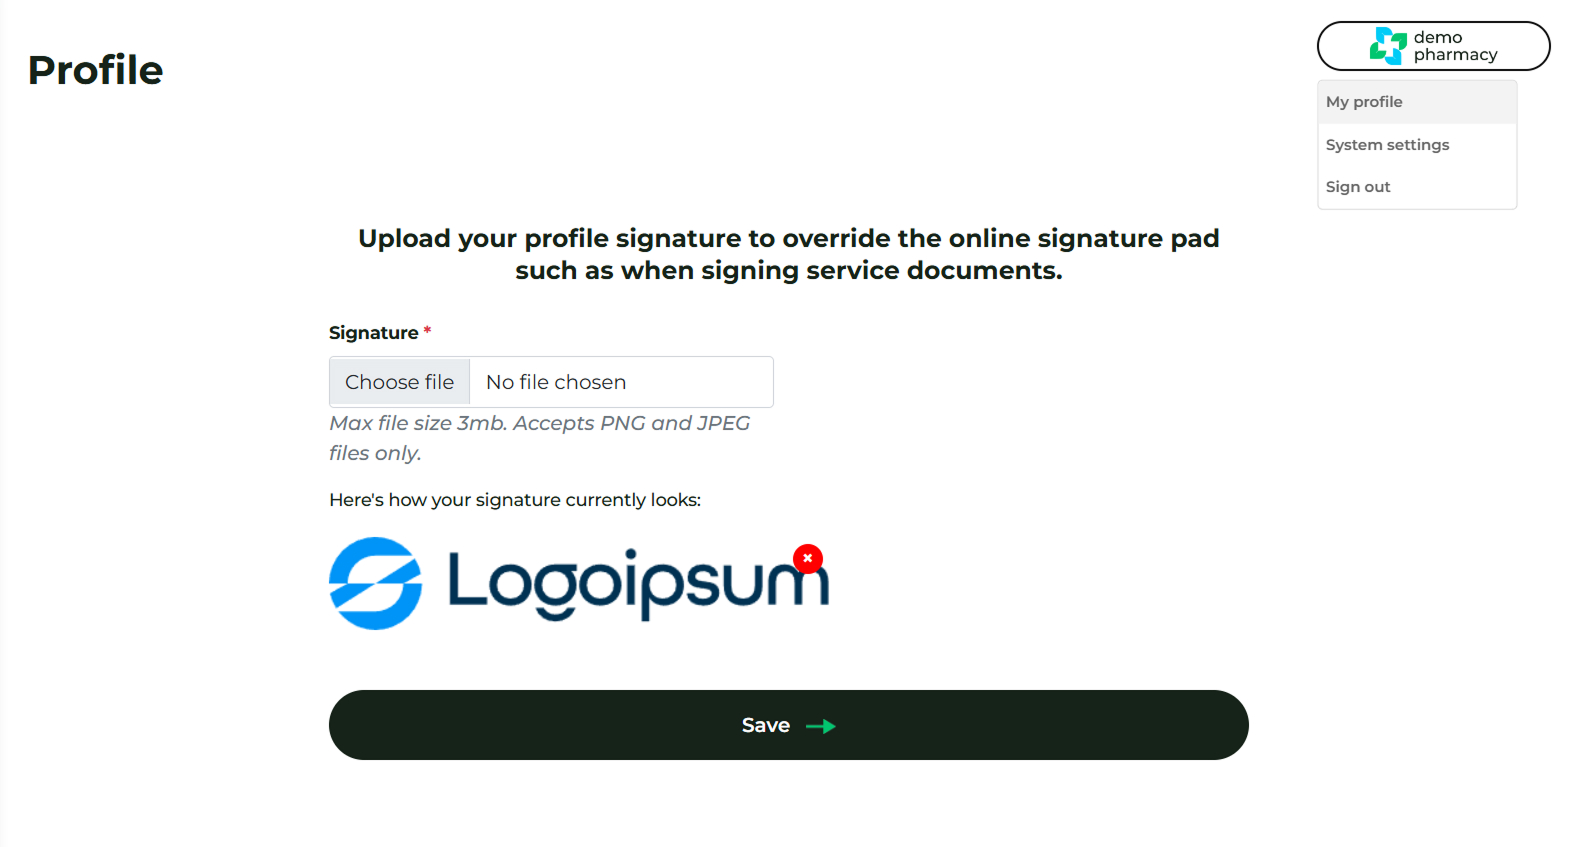
Before signing documents, you should upload your digital signature to your profile.
- Log in to your Head Office account at deltera.cloud/manager.
- Click on your Logo/Icon in the top-right corner and select My Profile.
- Upload your signature as a PNG or JPG file.
- Pro Tip: Once your image is uploaded, you don't need to redraw it every time. You can simply mark a simple "X" in the signature box on any PGD; the system will automatically overlay your uploaded image alongside a secure date and time stamp.
Step 2: Review and Sign PGDs
Authorisations are handled within your Superintendent Dashboard.
- Location: Navigate to the Superintendent Dashboard within your Head Office account. Naviagate to Dashboard > Superintendent.
- Action: Formally review and sign the required PGD documents.
- Workflow: As soon as you sign a PGD, the system notifies our team. We will then complete the setup by assigning those signed PGDs to their respective pharmacy services.
Step 3: Onboarding Staff & Technicians
To allow pharmacists, technicians, or locums to provide services, they must be registered and activated under your organization.
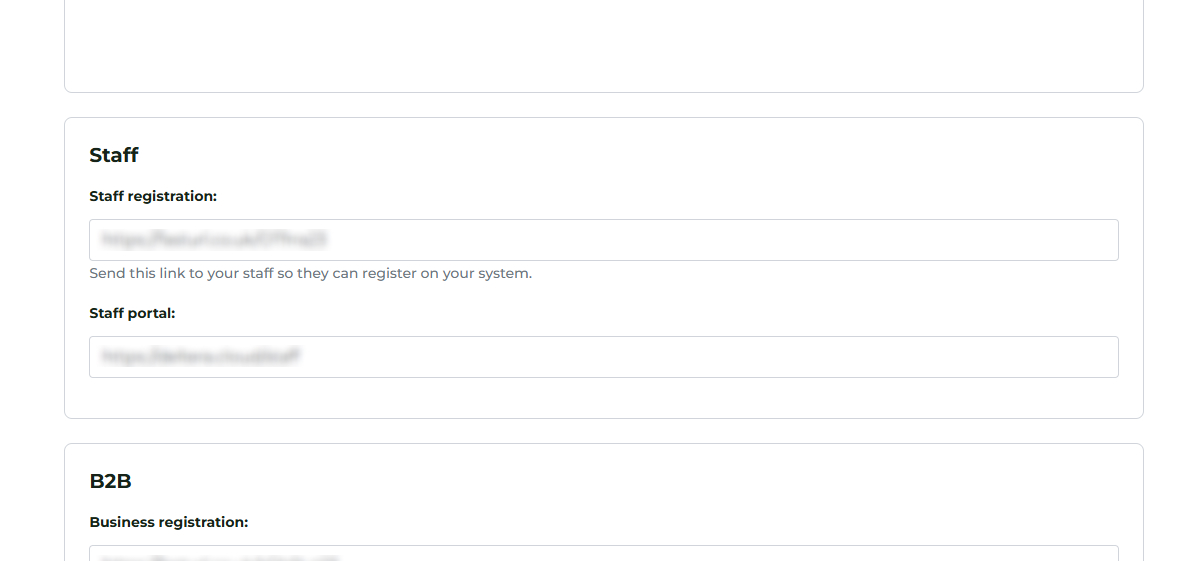
- Distribute the Registration Link: *
- Find your unique registration URL under Head Office > [Pharmacy Logo Top Right] > System Settings > Scroll to Staff Registration.
- Share this link with any staff members (including yourself if you also provide services).
- Security Requirement: Instruct all staff to use their personal NHS email addresses during registration for cybersecurity and compliance.
- Activation: New registrations will appear in your Head Office dashboard. You must manually activate these accounts before staff can log in.
- Staff Access: Once activated, staff members log in via deltera.cloud/staff.
Step 4: Managing Future Services and Updates
As your organisation grows, you will need to manage ongoing compliance:
- New Services: Any new service subscriptions will require a fresh PGD signing process via your dashboard.
- Version Control: If a PGD is updated (e.g., due to legislative changes), the system will notify you. You must review and sign the latest version to maintain service continuity.
Get in touch
For all technical enquiries and system support, please email us at:
Are you a Well pharmacist?
For technical enquiries and system support specific to Well Pharmacy locations, please email Central Support at: