Guest Booking Mode: The Patient Journey
When a patient books an appointment without logging into a Patient Portal account, they enter Guest Booking Mode. This workflow guides them step-by-step through selecting a slot, providing their demographic data, and completing the mandatory clinical pre-screen.
Phase 1: Selecting a Slot & Location
1. Pharmacy Branch Selector
The journey begins with location routing. Because Deltera booking links are group-level, the patient is prompted to enter their postcode or use the "Find my location" tool. The system then displays the three closest pharmacies within your group that offer the service, and the patient selects their preferred branch.
2. Date and Timeslot Selection
Once the branch is selected, a real-time calendar grid appears showing available dates and timeslots. The patient simply clicks on the slot that best suits their schedule.
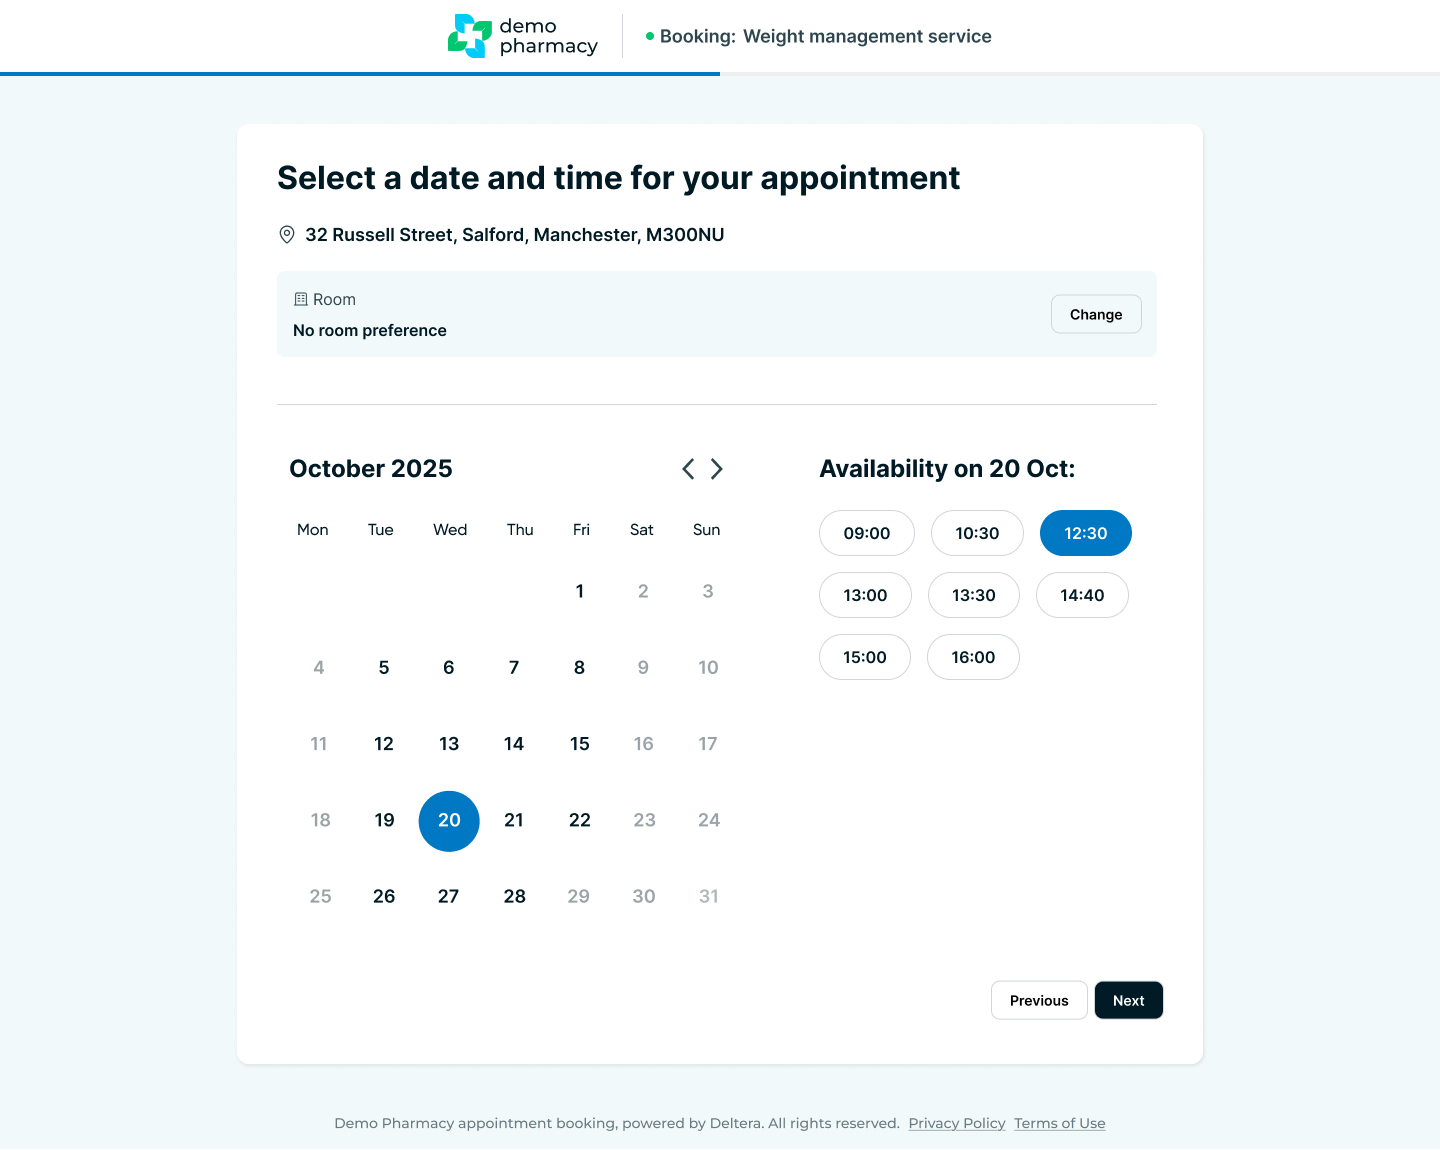
3. Room/Channel Selection (Conditional)
If your pharmacy has Multi-channels active for the selected service (e.g. a dedicated Travel Room alongside a standard consultation room), the patient will see an option to choose their preferred room or channel. If multi-channels are not enabled, the system skips this step automatically.
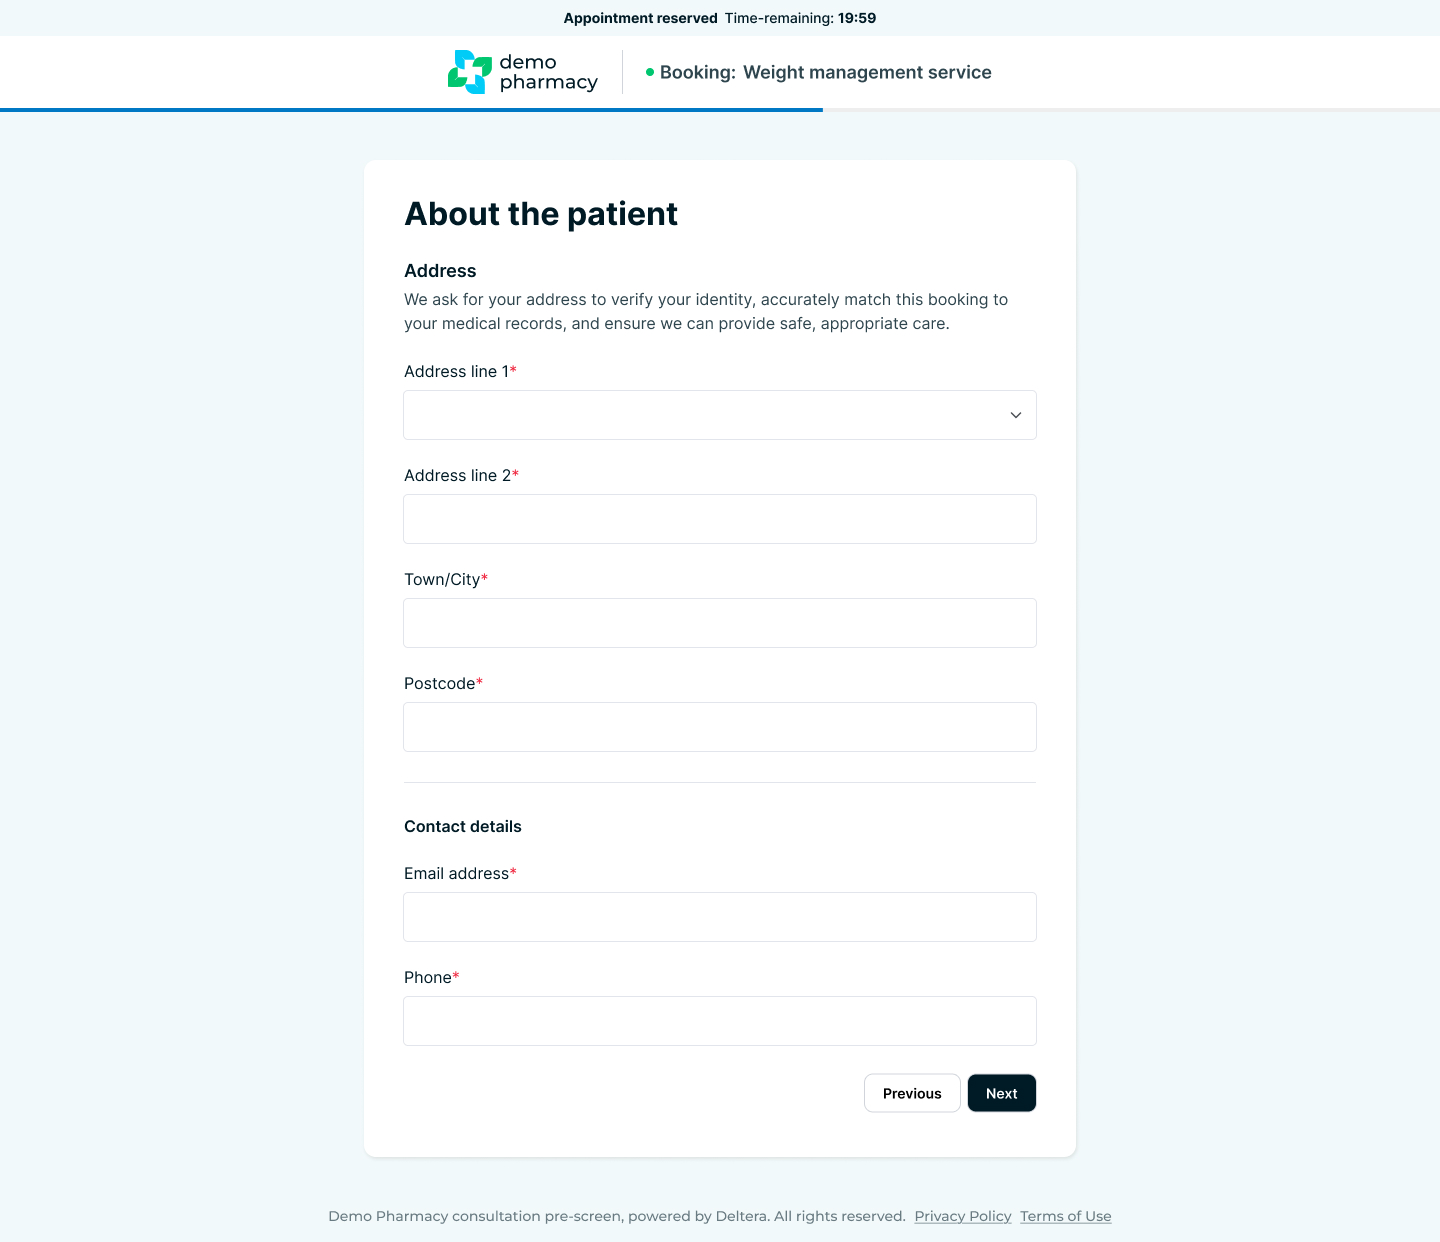
Phase 2: Patient Demographics & Background
Because this is a guest checkout, the patient must manually input their personal details to build their clinical record.
- Patient Details: Core demographic information, including First Name, Last Name, Date of Birth, and Gender.
- Contact & Address Details: Their full residential address, mobile phone number, and email address (vital for confirmations).
- Emergency Contact Details: The name and contact number of a next of kin or emergency contact.
- GP Information: The name and address of their registered GP practice, ensuring the pharmacy can loop back to their primary care provider if required.
- Current Medications: A text field or list where the patient details any current prescriptions, over-the-counter medicines, or supplements they are taking.
Phase 3: Clinical Screening & Consent
4. Medical Screen (Service-Specific Pre-screen)
This is the most critical phase of the journey. The patient is presented with a series of clinical questions tailored specifically to the service they are booking. This clinical screen evaluates their answers against the PGD criteria (or custom service rules) to check for eligibility, contraindications, or specific medical conditions before they even arrive at the pharmacy.
5. Signature & Consent
To finalise the paperwork, the patient must:
- Provide a digital signature on screen.
- Provide formal consent regarding GP notification (agreeing that the pharmacy can share the consultation outcomes with their doctor).
Phase 4: Confirmation & Communications
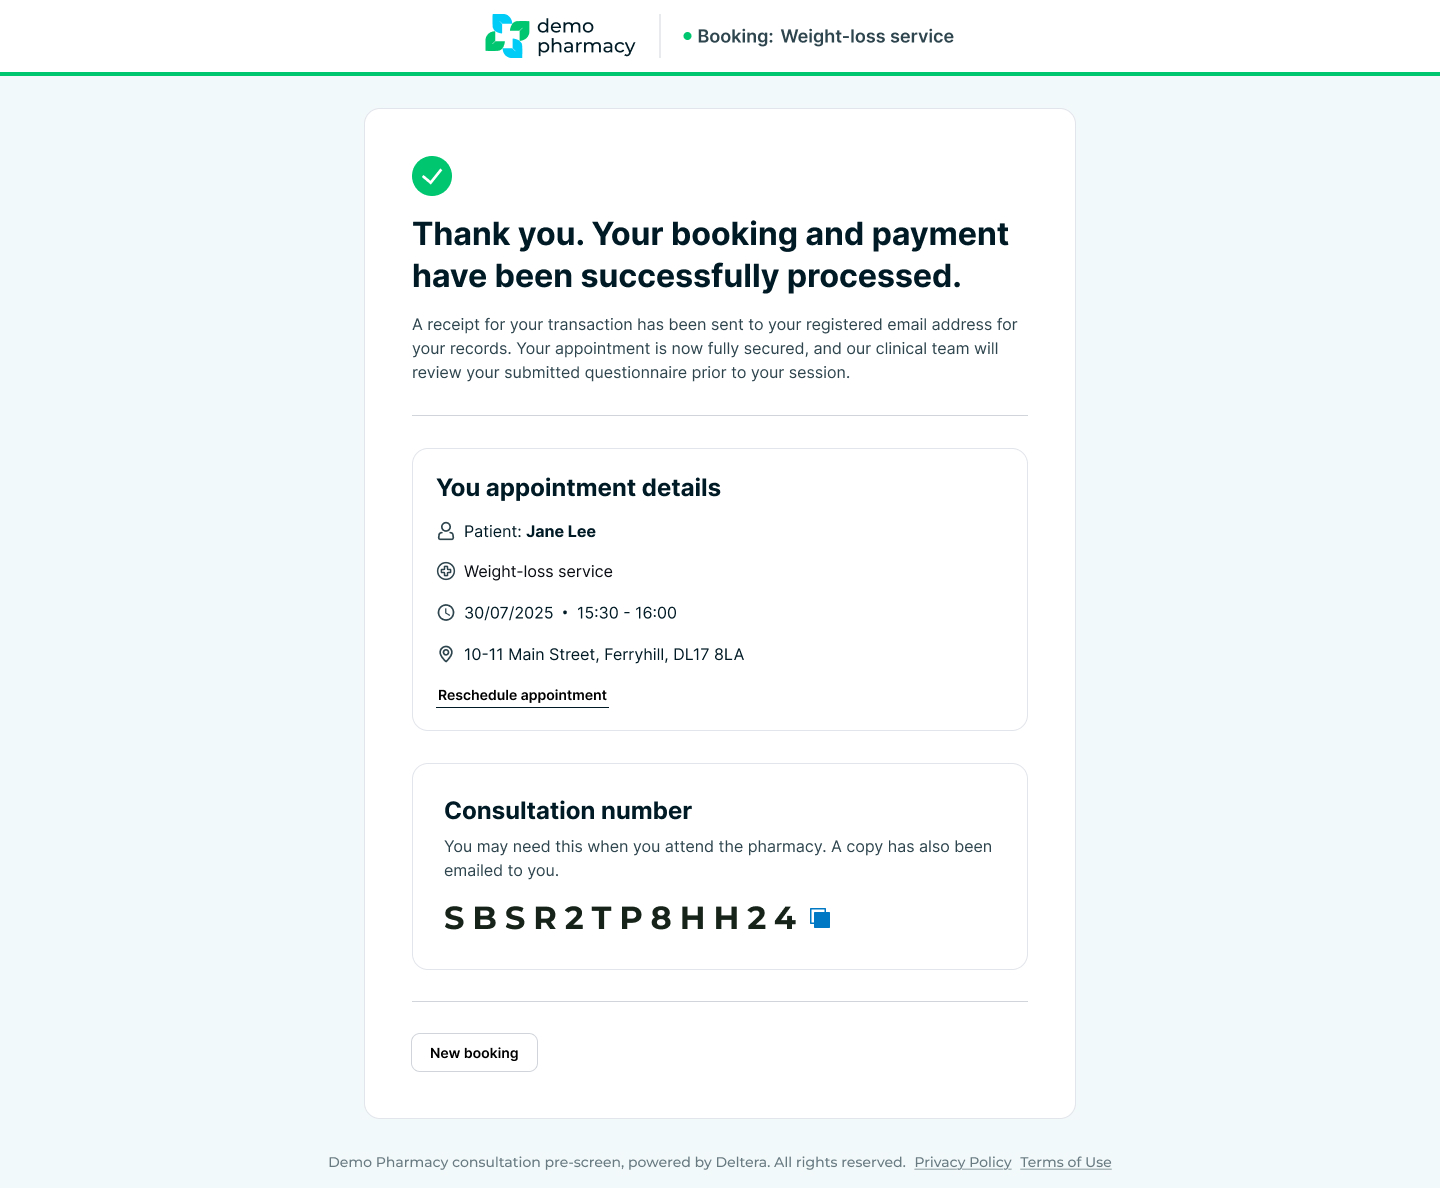
6. The Confirmation Screen
Once submitted, the patient lands on a success page summarizing their booking details—clearly displaying the pharmacy address, selected service, date, and time.
7. Automated Notifications
The system immediately takes over the logistics:
- Instant Email: A booking confirmation email is automatically sent to the patient. This email includes the appointment details and links to cancel or re-arrange if needed.
- Day-Before Reminder: To reduce "no-shows", the system automatically sends an appointment reminder email to the patient the day before their scheduled visit.