Working through a business vaccination clinic
Manage pre-screened patients, onboard walk-ins via QR code, administer vaccines, and finalize the clinic by recording expenses.
Step 1: Administer Vaccines to Pre-Screened Patients
When you are on the Clinic Running screen:
- A list of patients who have completed their pre-screens for this specific clinic is displayed on the left under Patient Search.
- Tip: Use the search box above the list to quickly locate patients if the list is long.
- Click the Select button next to a patient's name to open their administration form.
- The administration form functions exactly the same way as the standard in-pharmacy administration form (see the Administering Treatment / Vaccines section for details).
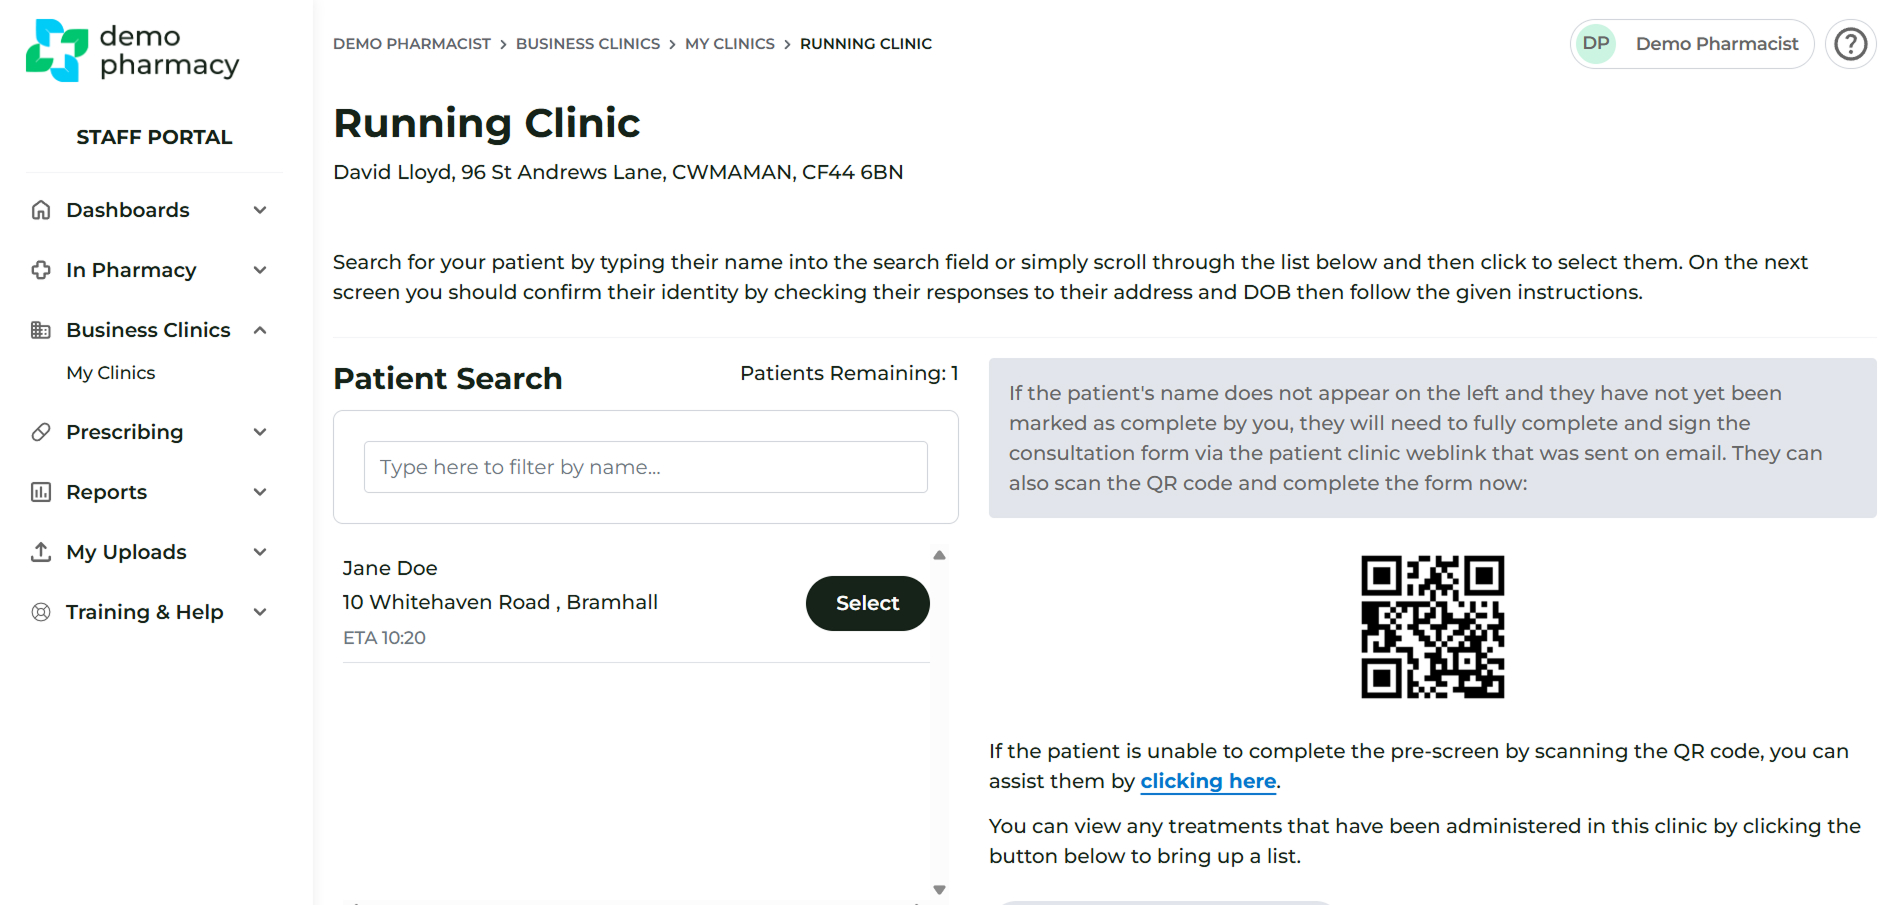
Step 2: Handle Walk-in Patients
If additional patients arrive on the day who have not completed their pre-screens in advance:
- Direct them to the QR code shown on the right side of the Clinic Running screen. They can use this code to access and complete the clinic pre-screen immediately.
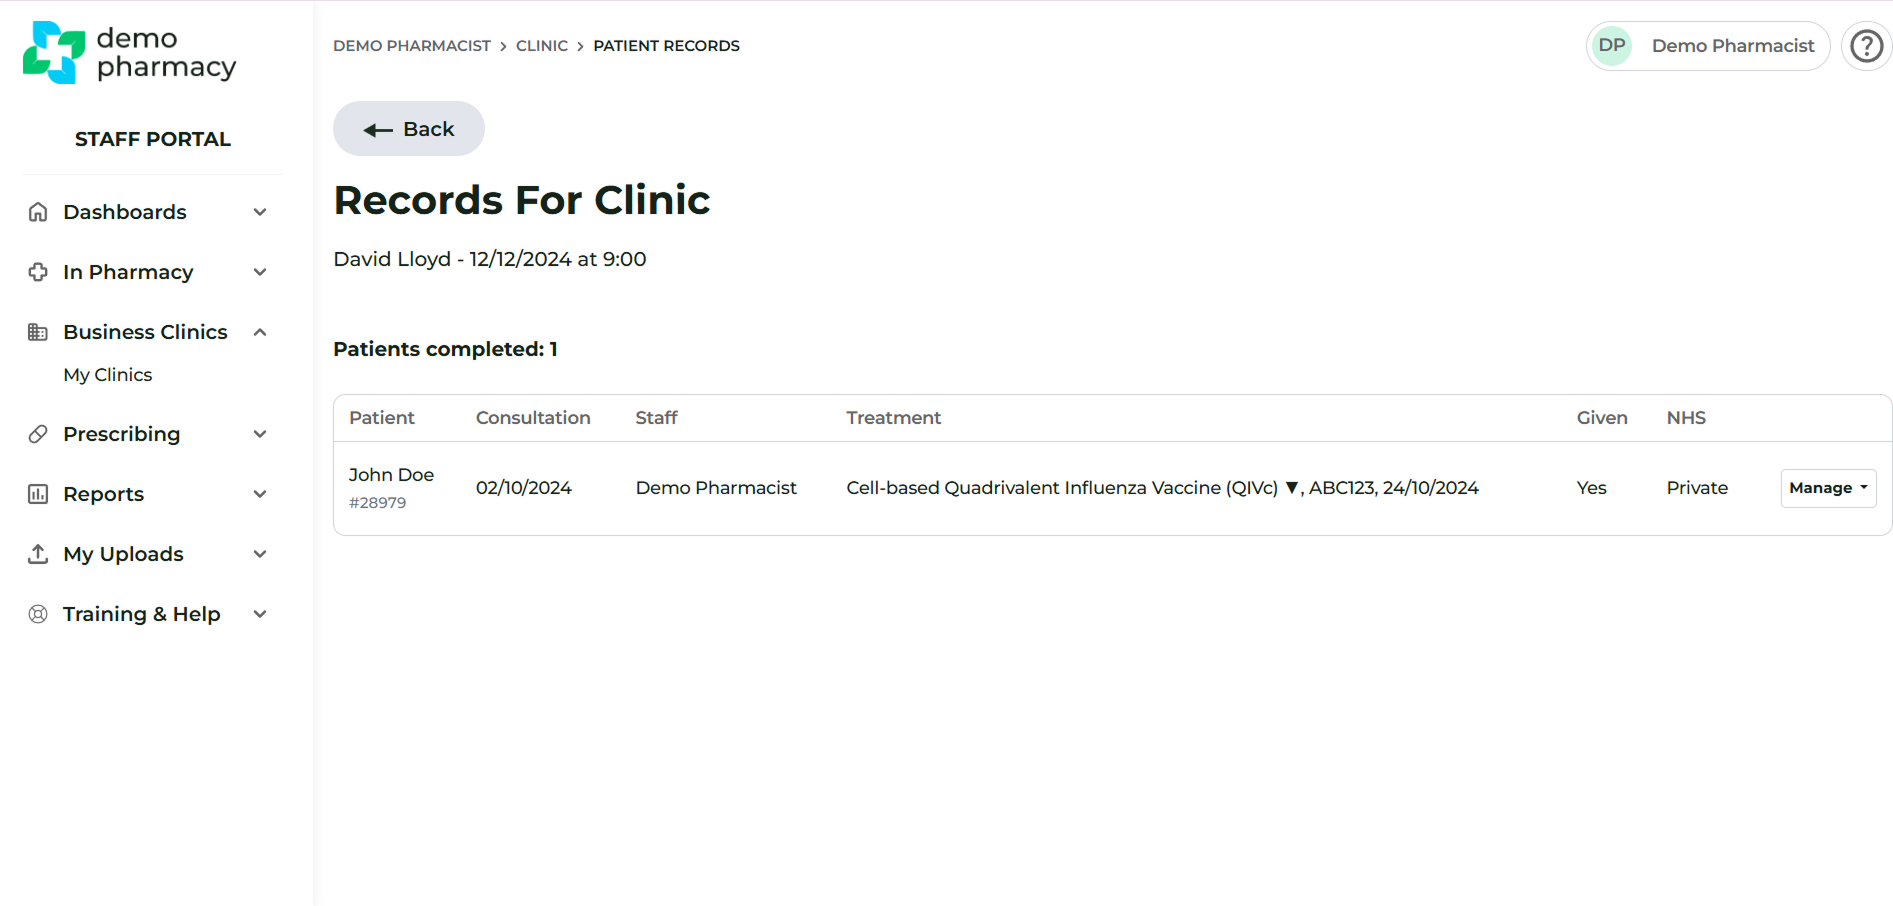
Step 3: Monitor Completed Administrations
- Once you successfully complete an administration, the patient's record is removed from the list on the left and moved into the Completed Vaccinations section.
Step 4: Finish the Clinic and Record Costs
After you have seen all patients and confirmed every file is in the Completed Vaccinations section, you can finish the clinic:
- Click the Finish Clinic button located at the bottom of the Clinic Running screen.
- On the next screen, enter any mileage costs or other costs incurred (such as car parking).
- Click Submit (or the final action button).
You will be taken back to the clinic listing screen and shown a confirmation message that the clinic is complete. The status of the clinic will also change to Complete.