Business vaccination clinics
View your assigned clinics, preview patient details, and follow the required steps to start a clinic, including the mandatory Premise Audit.
Step 1: View Assigned Clinics
- Navigate to Business Clinics > My Clinics.
- The resulting screen will display a list of all clinics you have been assigned to.
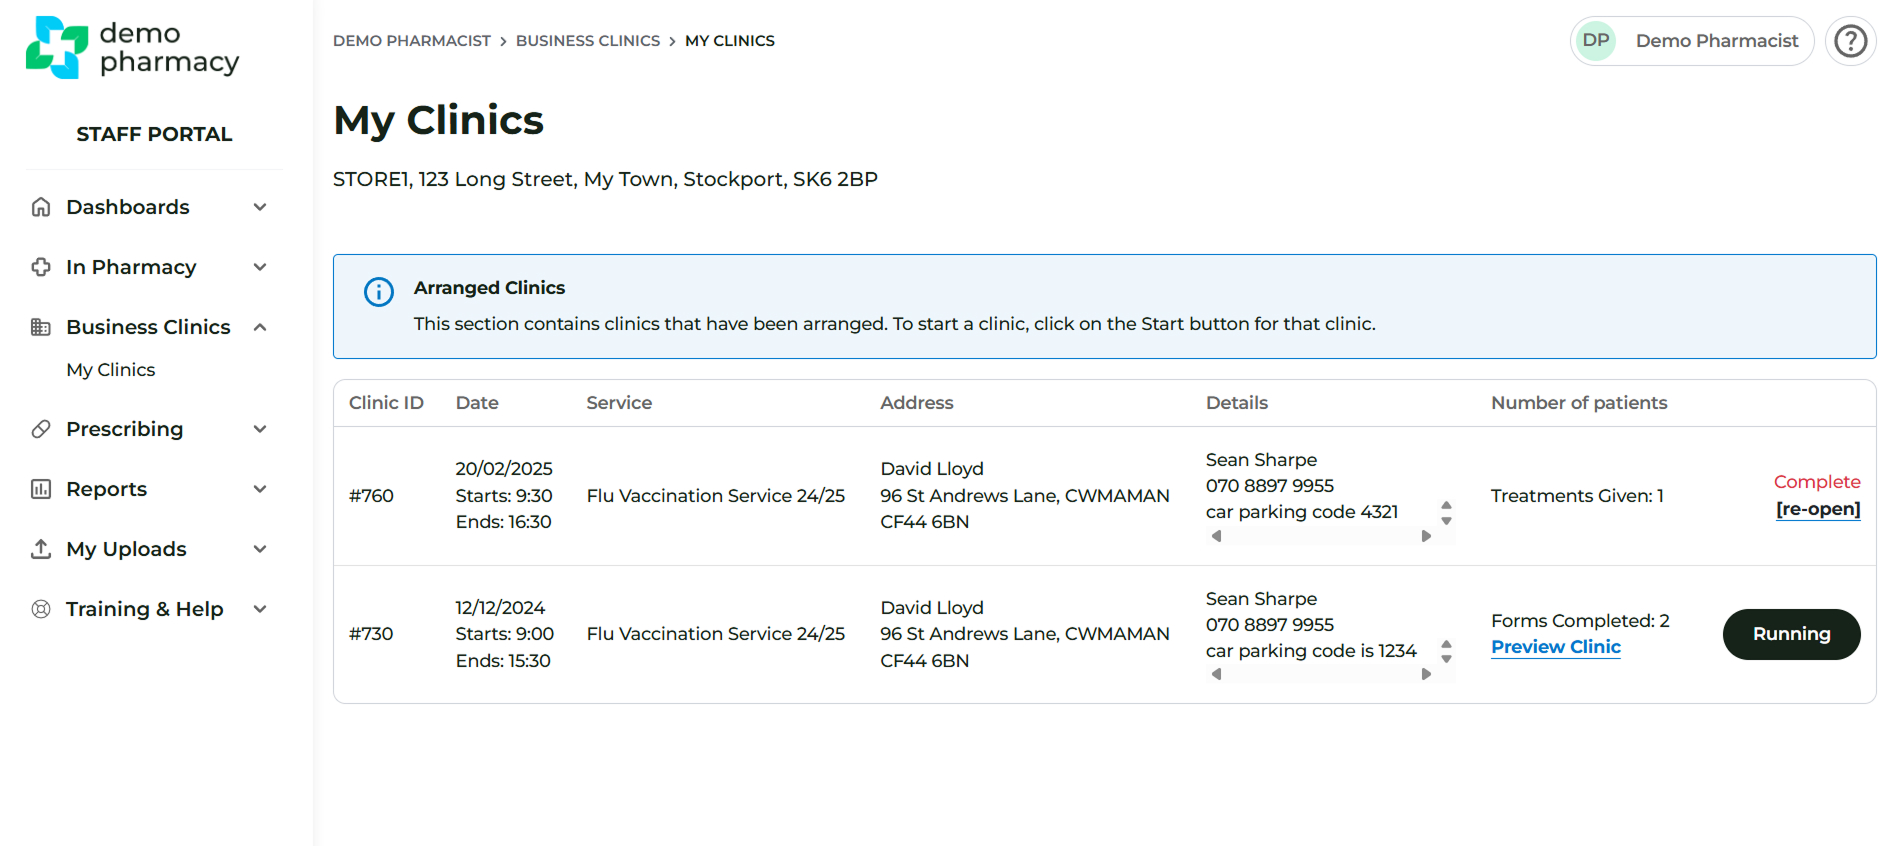
Step 2: Preview Clinic Details
The clinic list provides a summary of each event:
- Preview Clinic: Click this link to view the patients scheduled for the clinic before the start date.
- Forms Completed: This number shows how many patients have successfully completed a pre-screen ahead of the clinic.
Step 3: Start the Clinic (On the Day of the Clinic)
Do not click the Start (▶) button until the day the clinic begins.
- When you are ready to begin the clinic, click the Start button.
Step 4: Complete the Premise Audit
Clicking Start will take you to a Premise Audit form for the location you are working from.
- Verify Location: The address for the clinic is clearly shown at the start of the form to help prevent you from accidentally starting the wrong clinic.
- Sign Audit: Read the form and digitally sign it to confirm the premise is suitable for the administration of vaccines.
- Click the Submit Premise Audit button.
Step 5: Assign Vaccines
On the next screen, you will assign the specific vaccines being used during the clinic:
- Select a brand of vaccine from the drop-down menu.
- Enter the corresponding batch number and expiry date.
- There is space for up to 6 vaccines, but you can add more later if necessary.
- Once all planned vaccines are added, click the Start Clinic button.

Clinic Status
At this point, the clinic status changes to "Running".
- If you leave this screen and return to the clinic listing, the button for this event will have changed from Start to Running. This feature is useful for quickly identifying the correct clinic to return to, especially if you are assigned to several at once.