Arranging & Configuring a Clinic
On-site clinics can be requested directly by a corporate client through their Business Portal, or configured manually by your Head Office team following email/phone negotiations.
Configuring a New Clinic (Head Office Setup)
To set up an on-site clinic session:
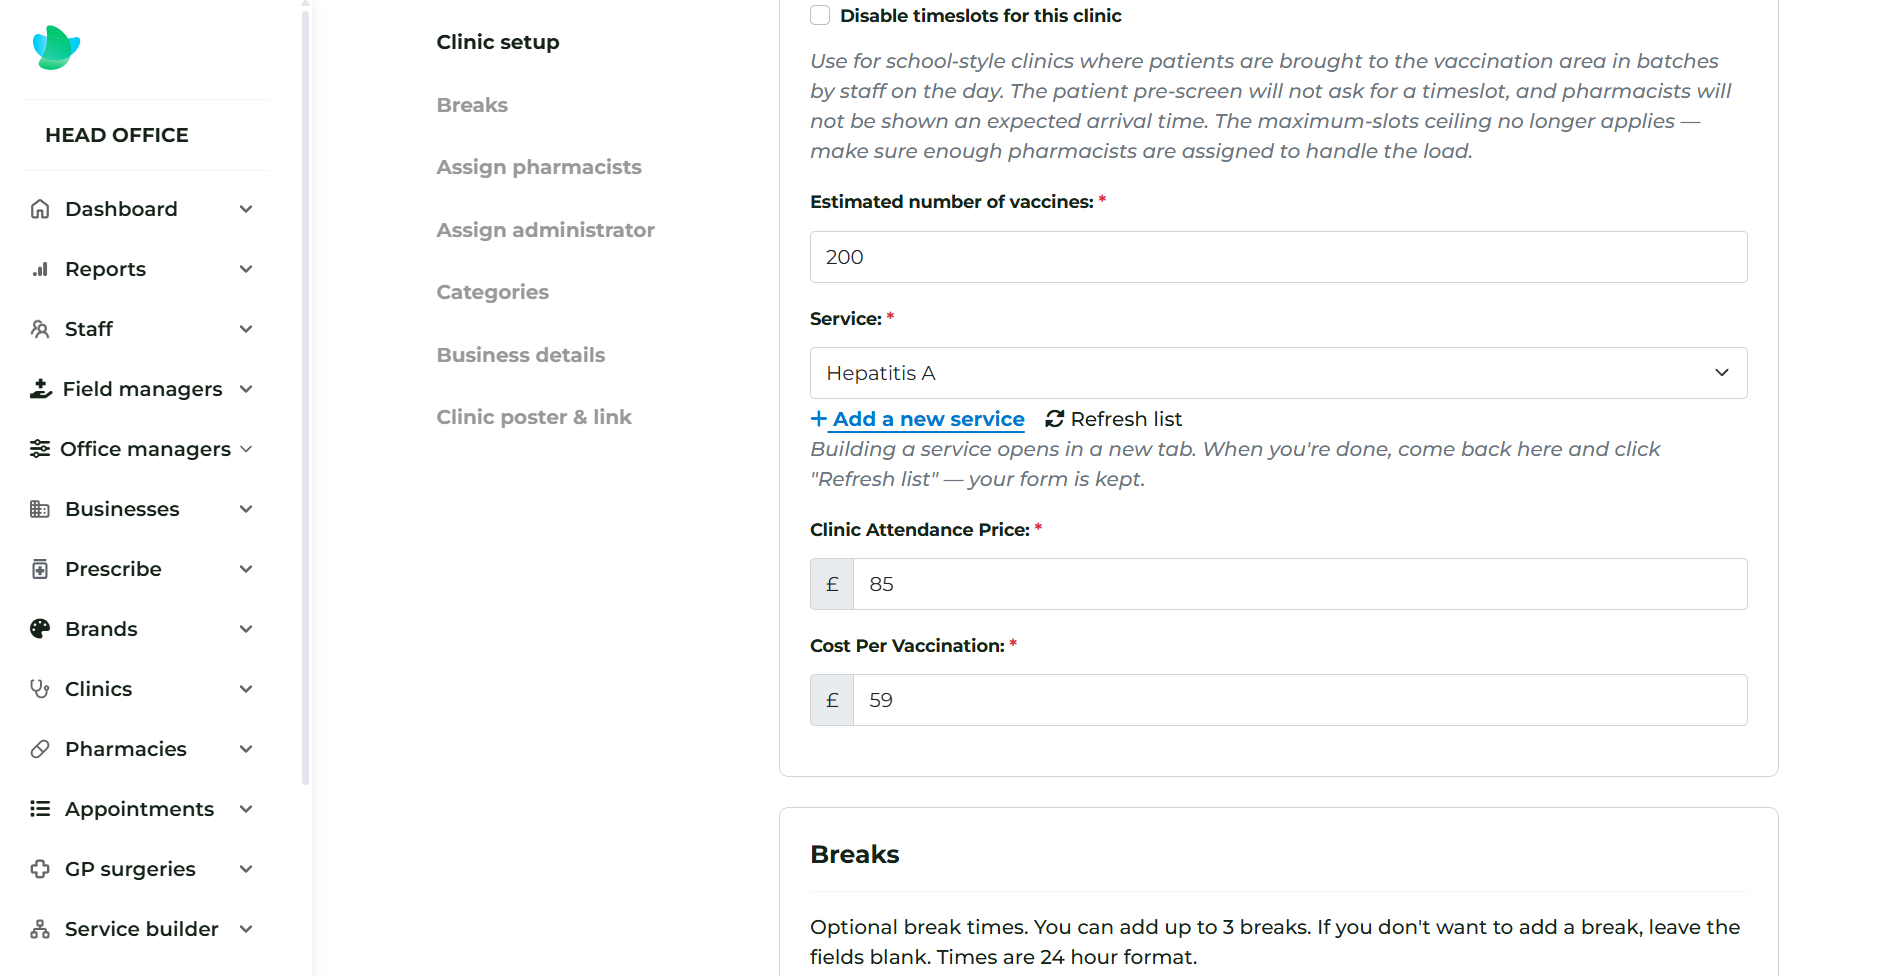
- In the Head Office navigation, go to Clinics and click Arrange a new Clinic.
- Clinic Logistics: Set the date, start/end times, and physical address of the event.
- Service & Pricing: Select the service (e.g. Corporate Flu Vaccination) and enter the agreed per-dose or session price.
- Assign Pharmacists: Select the pharmacist(s) scheduled to attend. You can assign multiple pharmacists to a single clinic session to handle high-volume events concurrently.
- Assign Administrator: Select an administrator or lead reviewer responsible for overseeing the clinic governance.
- Patient Categories (Optional): Define custom dropdown categories to allow patients to group themselves during booking (e.g. Department: Warehouse / Sales / Management, or Year Group: Year 10 / Year 11 for school clinics).
- Link Business: Select the corporate client and choose the primary contact recipient.
- Click Create Clinic.
Clinic Assets & Distribution
Once created, the platform automatically generates two key assets:
- Clinic Booking Link: A unique URL that can be emailed directly to the business contact to forward to their workforce.
- Clinic Poster: A printable PDF poster featuring clear instructions and an embedded QR Code for instant mobile booking.
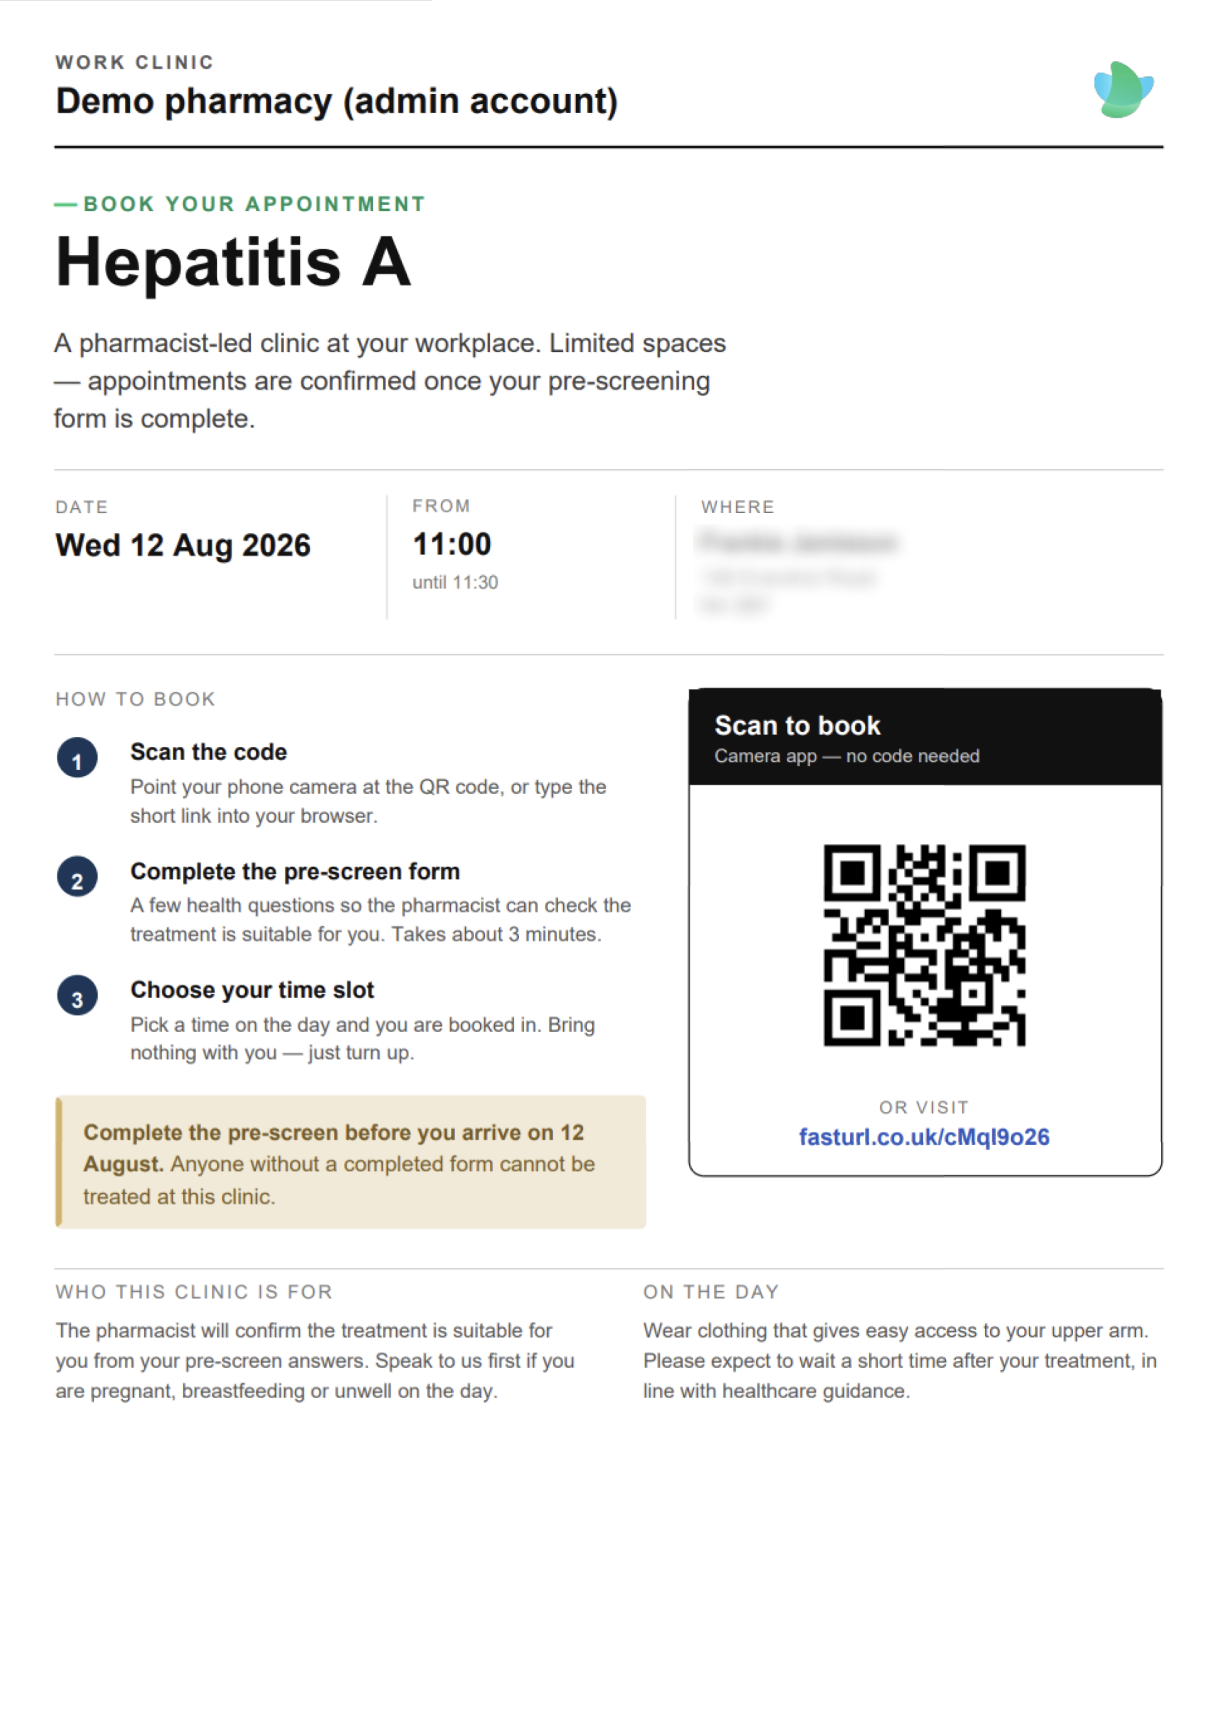
Click Email Assets to Contact to send both items directly to the client lead. Employees can now click the link or scan the poster QR code to complete their pre-screen and reserve their slot. You can monitor live sign-ups at any time under Booked Clinics.