Creating and managing appointments
This functionality is available only to users who have access to Deltera Appointments / Services Diary.
Creating New Appointments
There are two primary ways to initiate a service within the pharmacy, depending on whether the patient is planning a future visit or is currently standing at the counter.
Method 1: Booking a Future Appointment
Use this method when a patient contacts the pharmacy to book a slot for a later date or time.
- Navigate to Dashboard > Book an appointment.
- Input Details: Select the date and time, then choose the specific service the patient requires.
- Patient Information: Enter the patient’s contact details.
- Confirmation: Once saved, the system automatically sends the patient a confirmation email. This email includes a link for them to complete their pre-screen online before they arrive, saving you time during the clinical consultation.

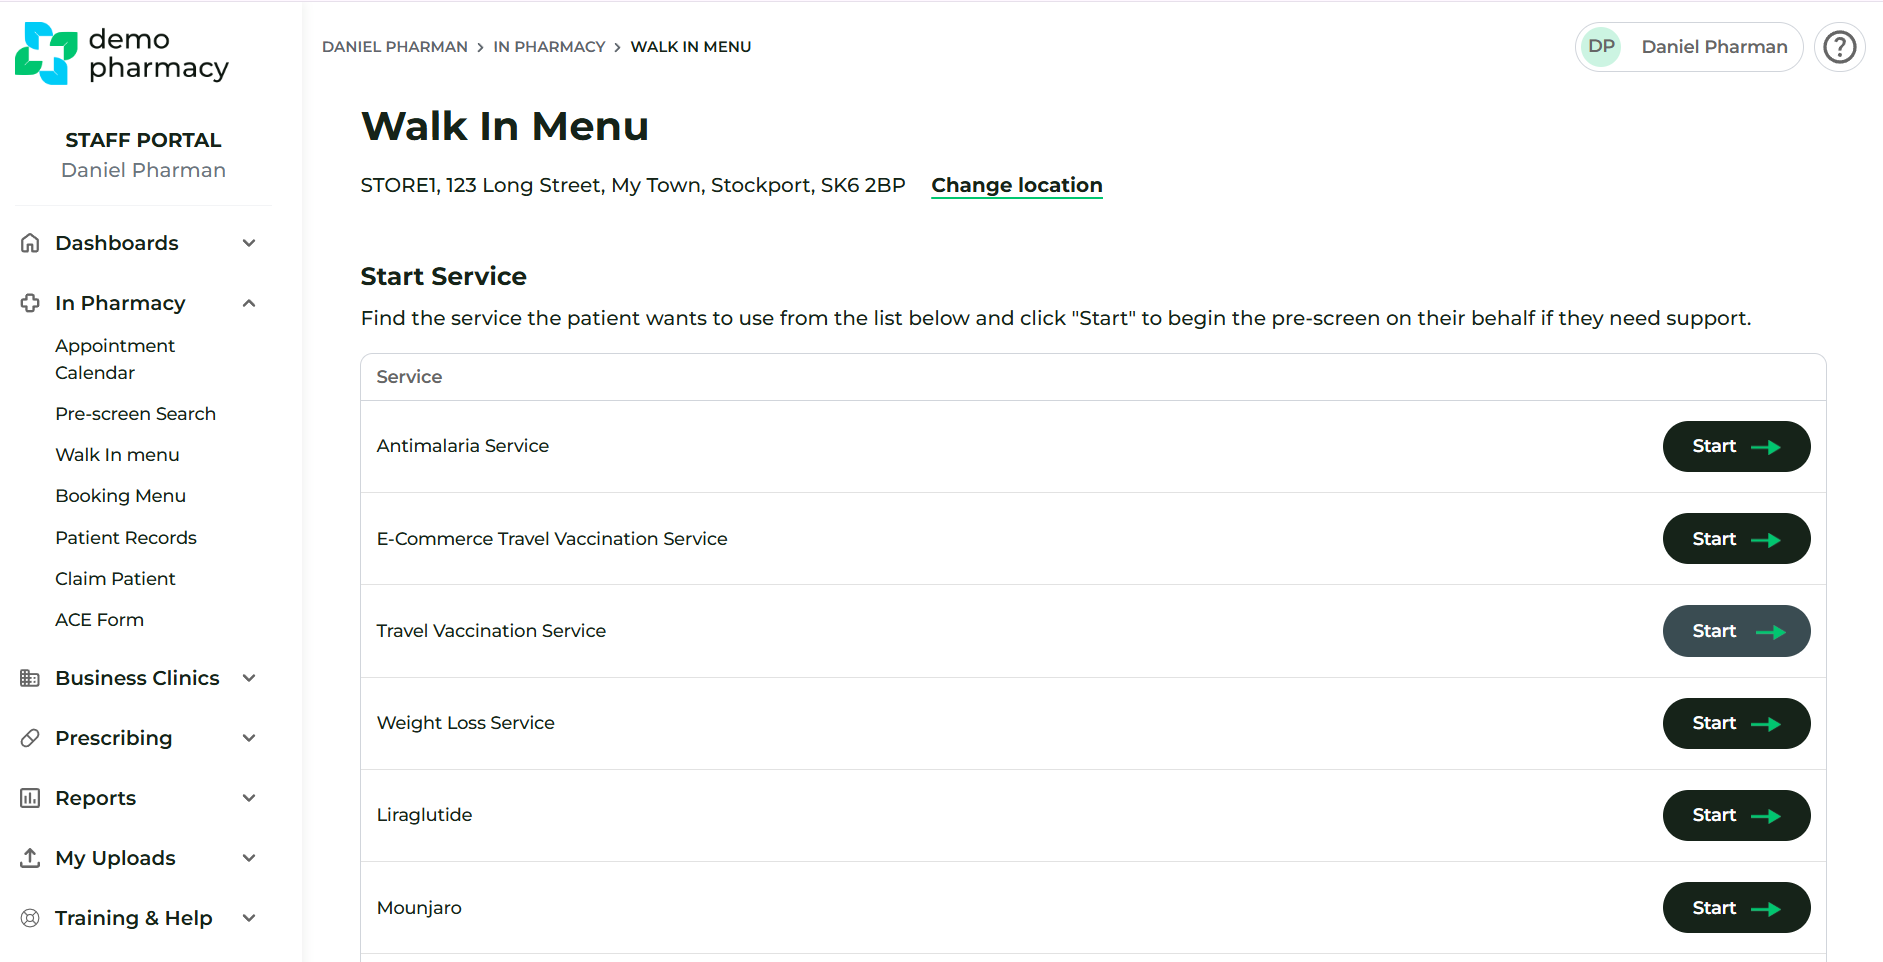
Method 2: Starting a Walk-in Appointment
Use this method for patients who are already in the pharmacy and ready to receive a service immediately.
- Navigate to In Pharmacy > Walk-in Menu.
- Select Service: Click on the service the patient requires and select Start.
- Immediate Action: This workflow skips the email phase. You will complete the pre-screen details immediately with the patient at the counter or in the consultation room, then transition straight into the formal consultation.
Managing Branch Opening Hours
The opening hours set within your pharmacy profile are the "master settings" the system uses to provision appointment availability to patients.
- Adjusting Timings: If you do not provide appointments beyond a certain time (either for the whole week or on a particular day), please adjust these timings in the Edit Pharmacy section.
- 24-Hour Format: All timings must be entered in a 24-hour format (e.g. enter 19:00 if the pharmacy stops appointments at 7pm).
⚠️ Important: Same Day Bookings
By default, same day bookings are switched off for all services. This is designed to give pharmacists sufficient lead time to prepare for consultations and manage their daily workload without unexpected additions to the diary.
If your organisation prefers to allow patients to book appointments for the current day, this must be enabled manually within the Head Office settings for each individual service.
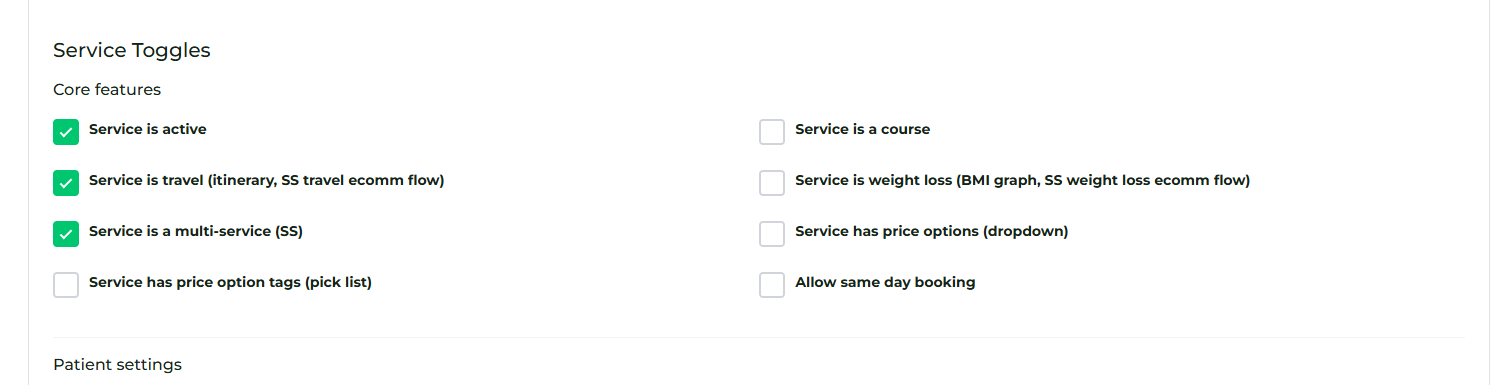
How to enable Same Day Bookings for a service:
- Log in to your Head Office account.
- Navigate to Service Builder > Services.
- Find the specific service you wish to update and click Edit.
- Scroll to the configuration options and check the box labelled 'Allow same day bookings'.
- Click Save/Update at the bottom of the page.
Once this is checked, the service will immediately become available for patients to book on the same day, provided there is an open slot in the pharmacy's appointment calendar.
Viewing Upcoming Appointments
You have two main methods for viewing your pharmacy's schedule:
Method 1: Appointments Dashboard (List View)
- Navigate to Dashboard > Appointments.
- Default View: By default, this screen displays a list of all upcoming appointments for your specific pharmacy branch (not just your personal bookings), ordered from soonest to furthest away.
- Filtering: You can use the filters at the top of the page to look for previous or archived appointments.

Method 2: Appointments Calendar (Calendar View)
- Navigate to In Pharmacy > Appointment Calendar.
- Default View: This screen shows a calendar view of the current week's appointments.
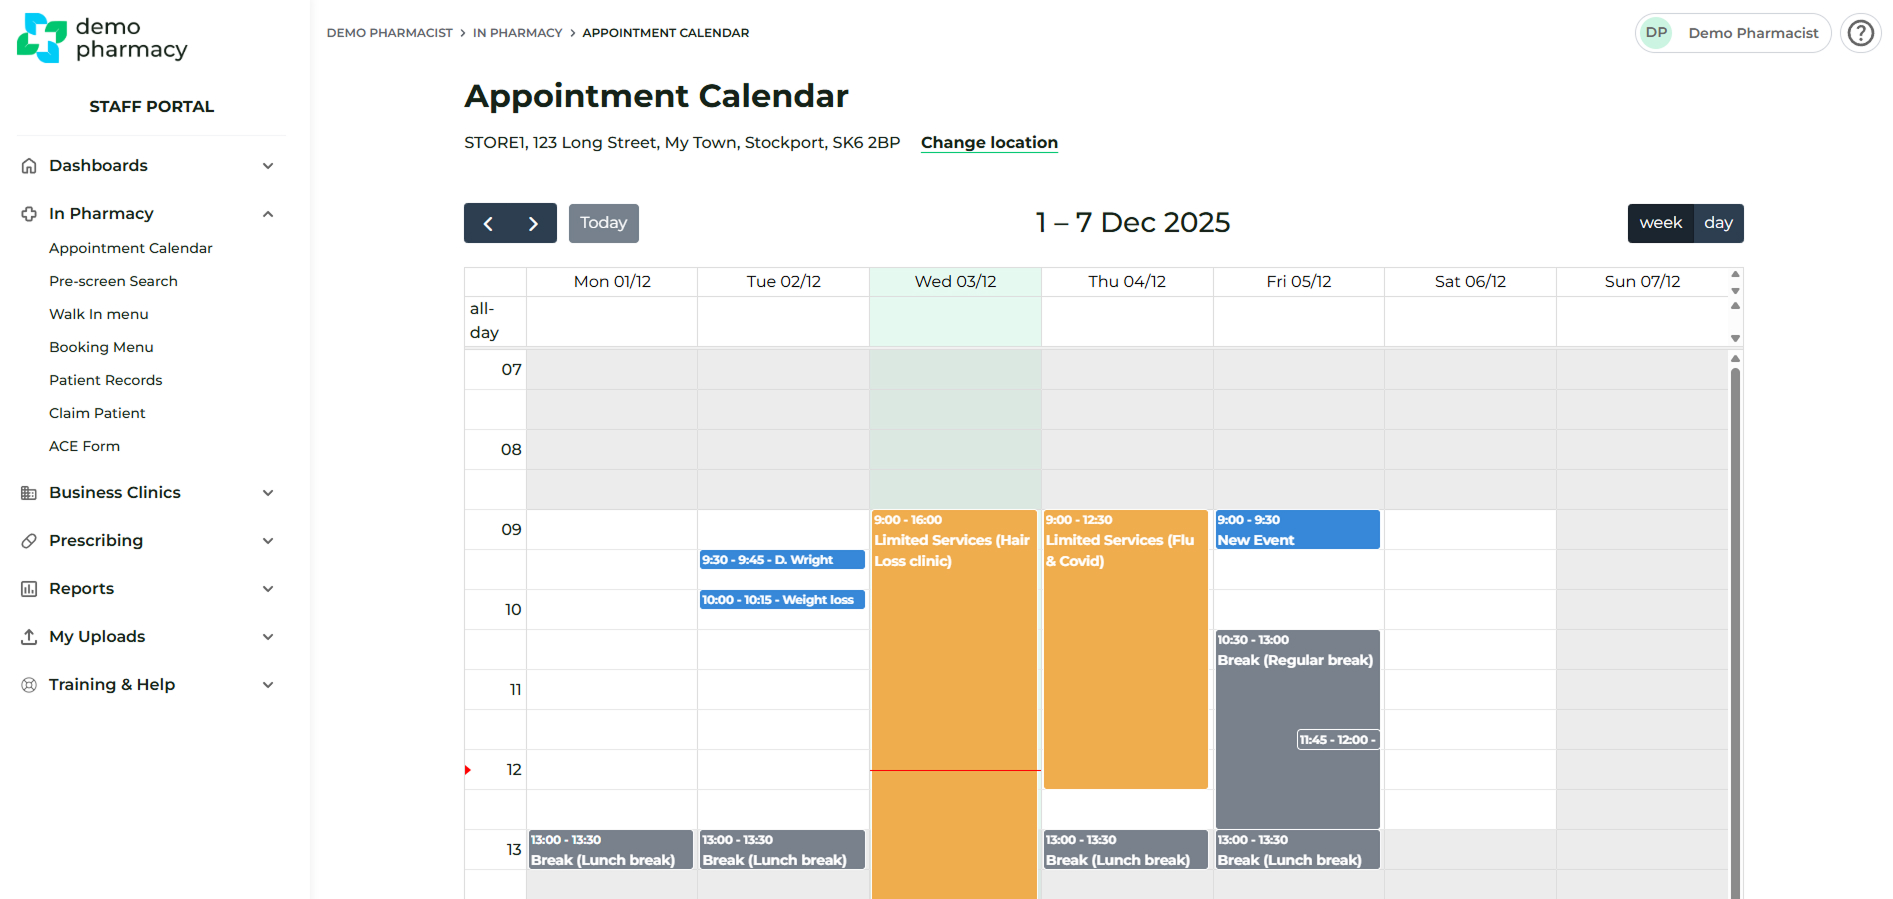
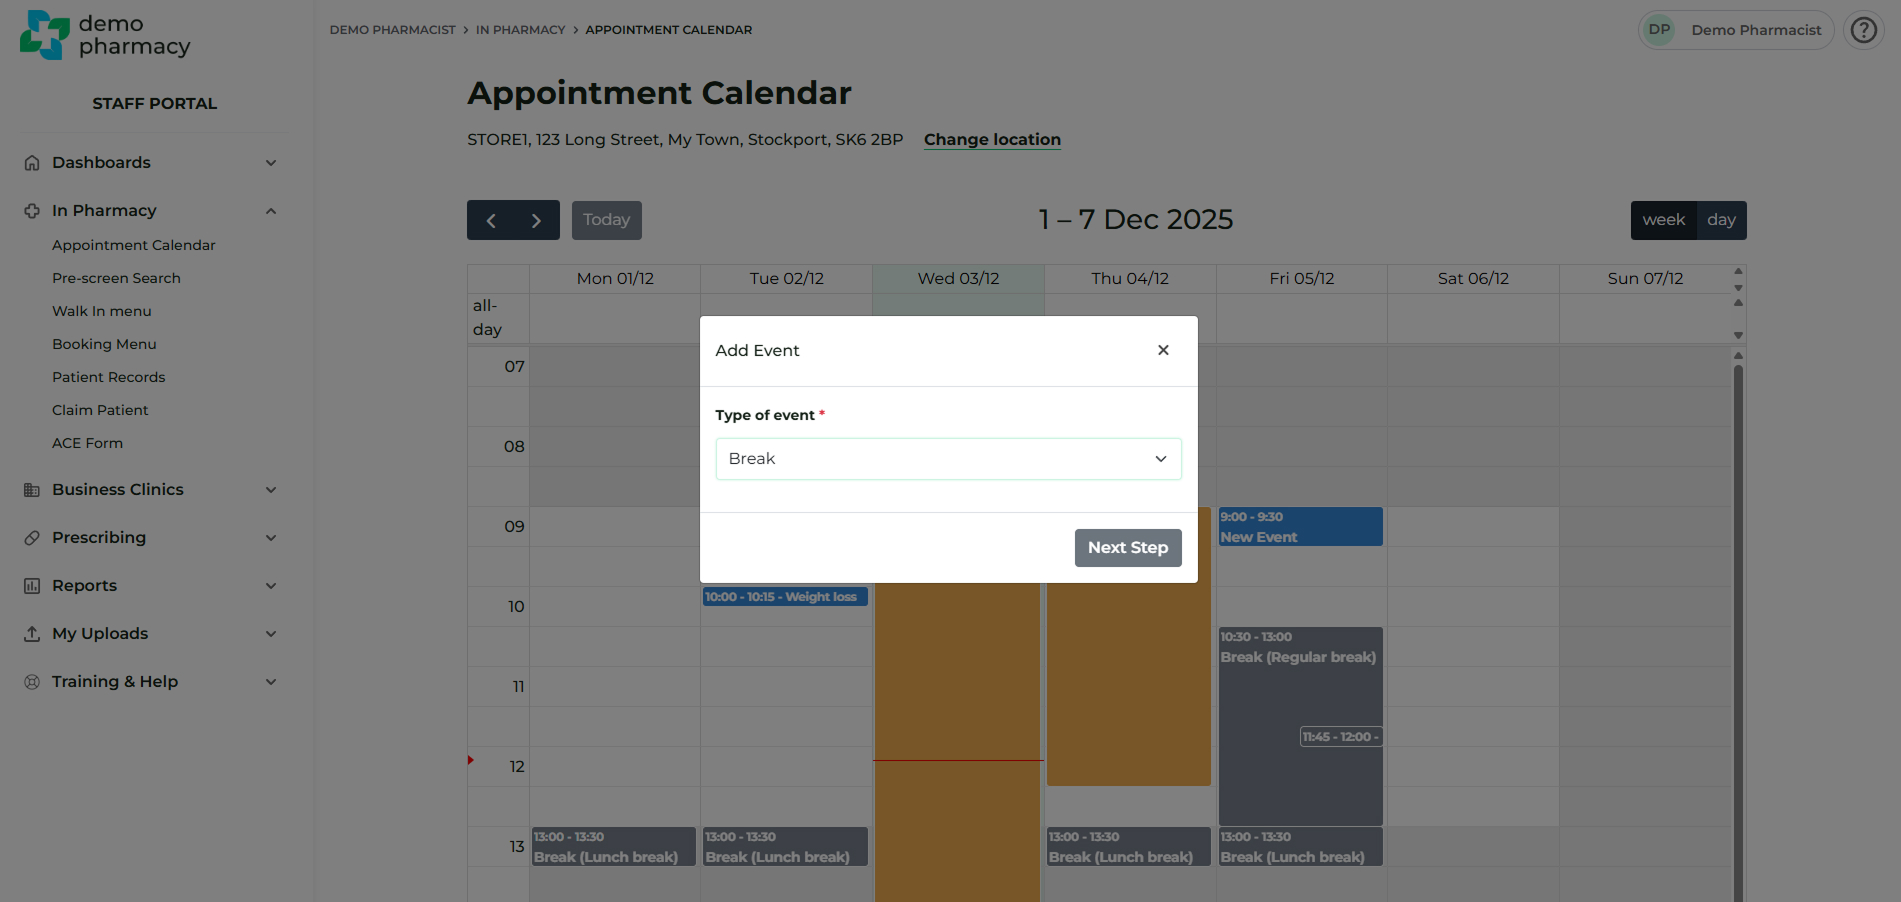
Refining Availability: Breaks & Limited Services
By left-clicking on any available time slot in the Appointment Calendar, you can manage your daily capacity beyond your standard opening hours.
Break Events
Booking a Break (e.g. for a lunch hour or staff meeting) acts as a total block. It prevents any service from being booked in that specific time slot.
Limited Services (Staff Rotas)
This tool allows you to control exactly which services are available during specific times. You can create recurring events (with an optional end date) to align the system with your pharmacist rota.
- Example Scenario: If a specific pharmacist works every Friday but only provides Weight Management services, you can create a Limited Services event for that day.
- By selecting only the Weight Management service, you ensure patients cannot book other services (like Travel or Ear Wax Removal) when the qualified clinician is not on-site.
💡 Clinical Tip: We recommend pharmacists use the Preview function (available by clicking an appointment in the Calendar) to review patient history and allergies before the patient arrives. This allows you to research specific clinical guidelines in advance if a complex case is identified.