Using Multi-channels
The Multi-channel feature allows your pharmacy to manage several bookings at the exact same time by categorising them into different "channels" or rooms. This ensures that your branch can operate multiple clinics—such as a Travel Clinic and a standard PGD service—simultaneously without scheduling conflicts.
Dashboard Overview
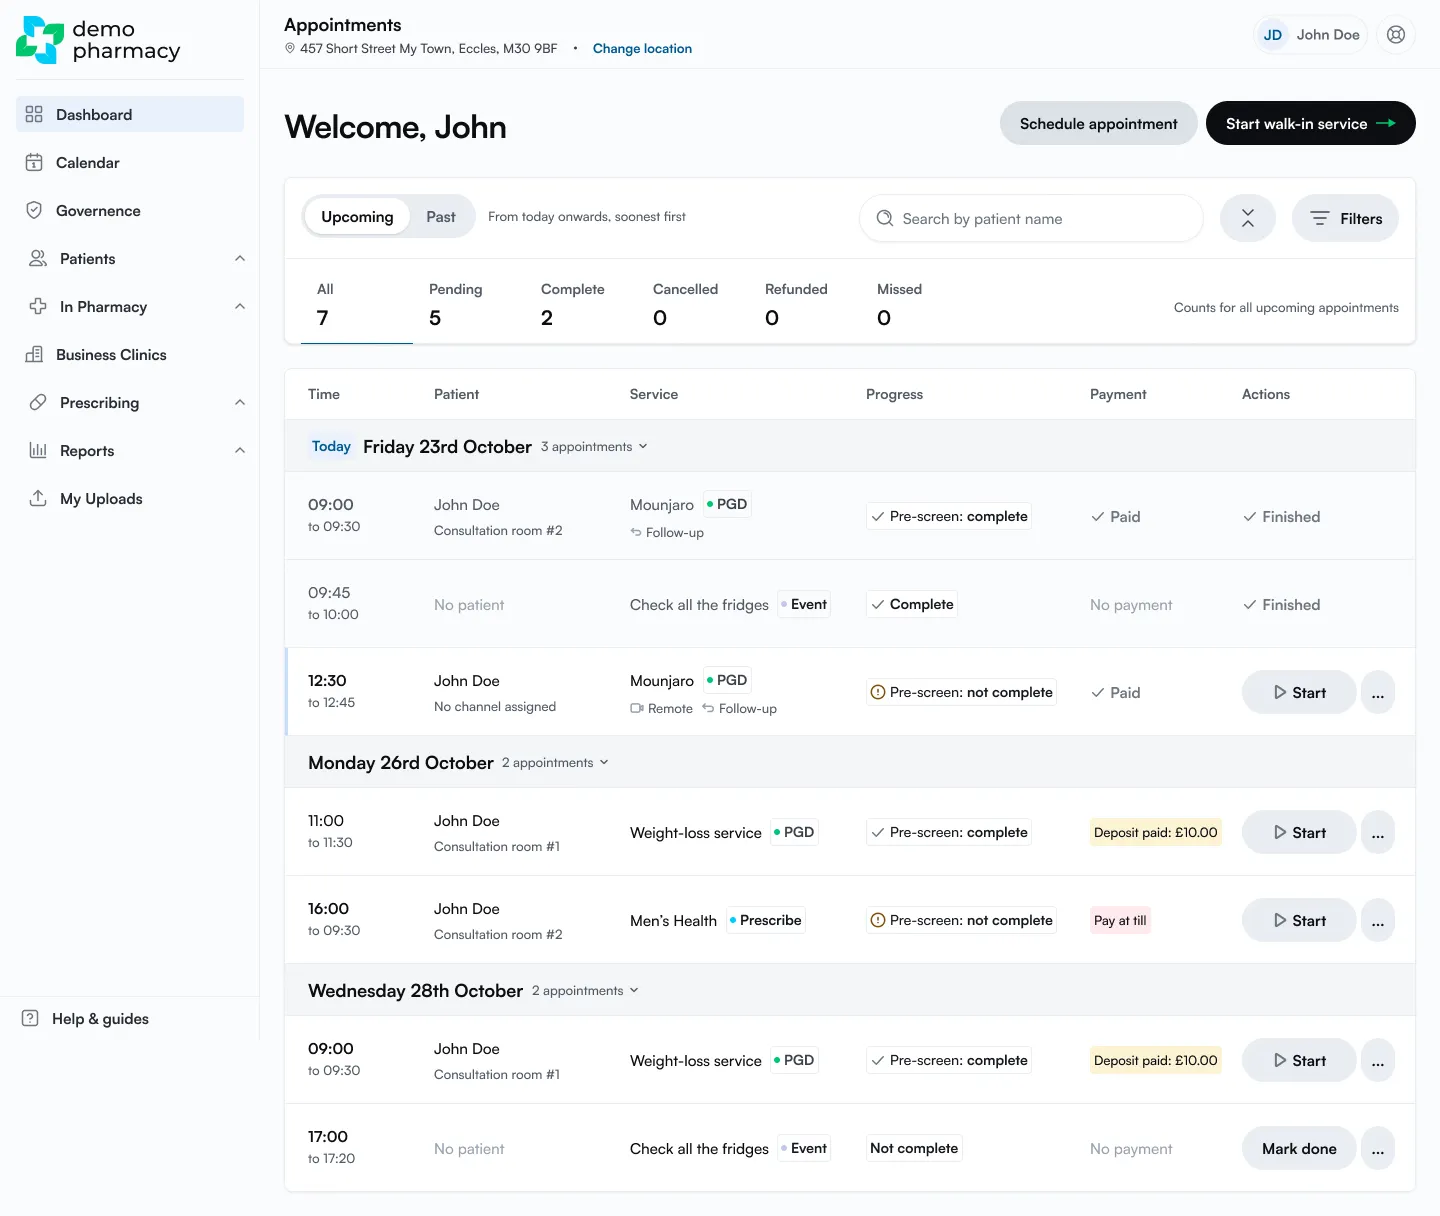
Section titled “Dashboard Overview”On your Dashboard, you can see at a glance which channel has been assigned to each patient.
- Default View: By default, the dashboard displays all appointments across all channels to give you a complete overview of the day’s activity.
- Channel Labels: Each appointment shows its assigned channel under the patient’s name (e.g. “Travel Room” or “Consultation room #2”).
- Unassigned Appointments: Appointments booked prior to adding a channel—or scheduled manually without selecting one—show No channel assigned.
Filtering Your View
Section titled “Filtering Your View”If you are working in a specific room or running a dedicated clinic, you may want to focus only on the appointments relevant to you.
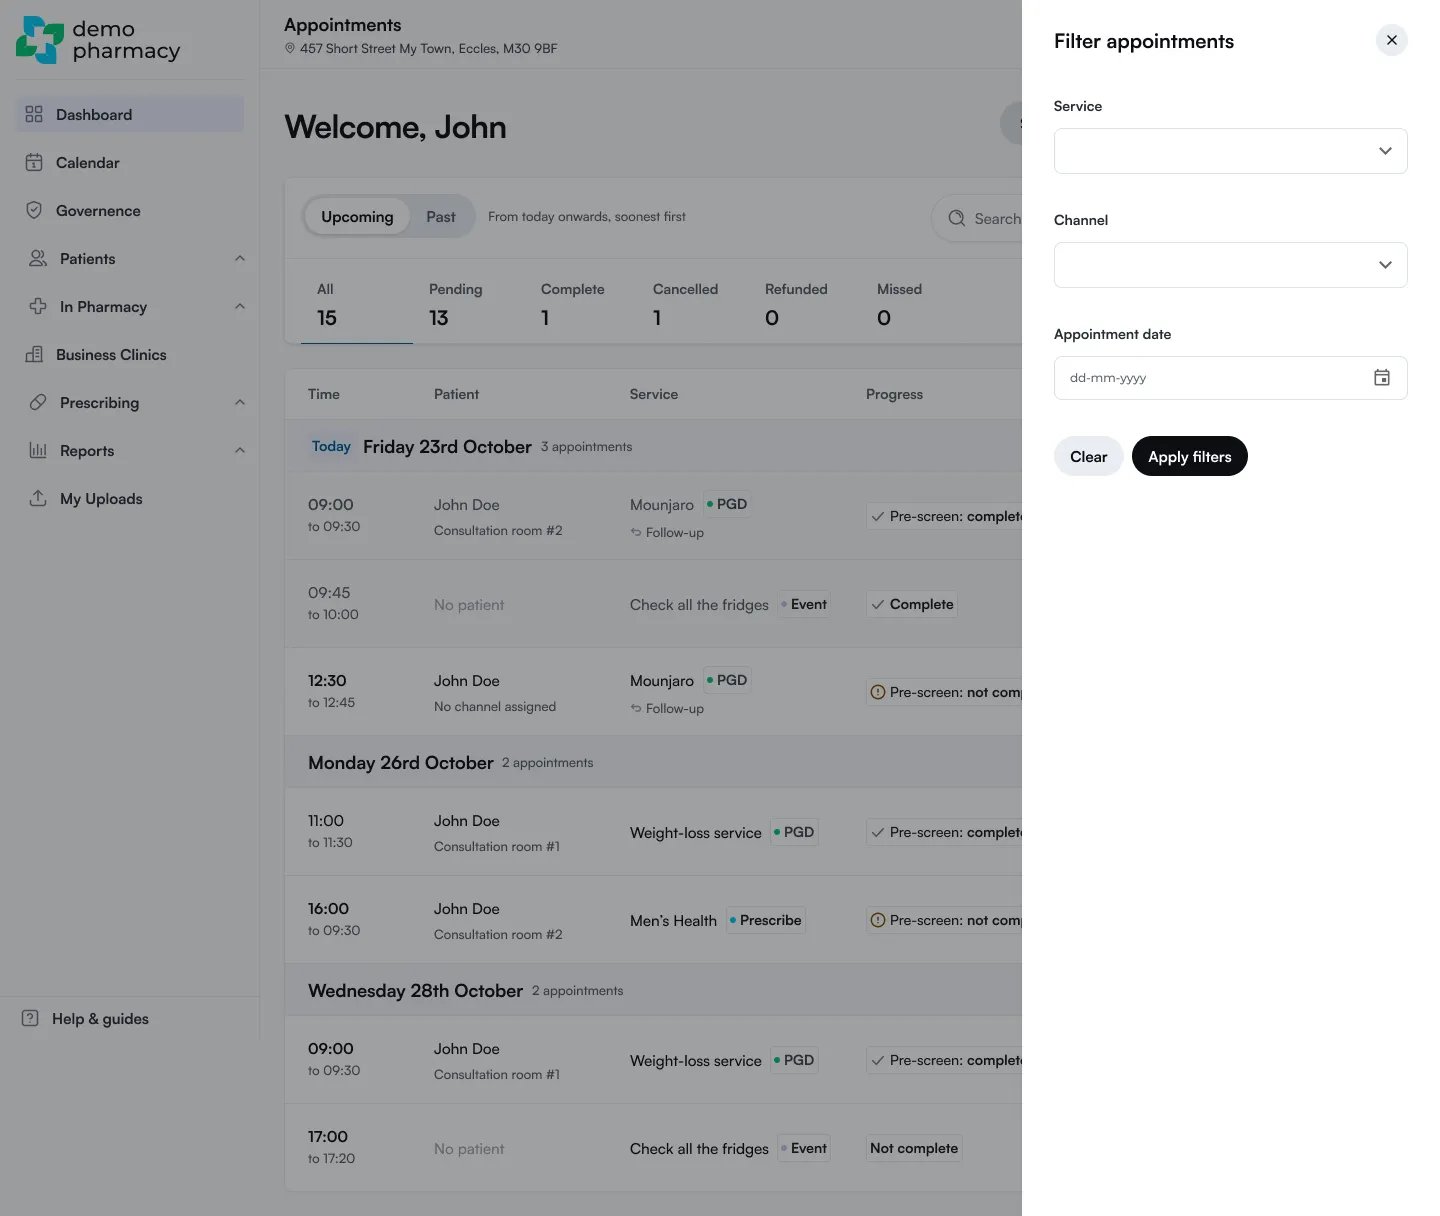
- Open Filters: Click Filters at the top right of the appointment list.
- Select Channel: Choose your channel from the Channel dropdown.
- Apply: Click Apply filters. The list updates to show only appointments in that channel. Click Clear to show all channels again.
The Appointment Calendar
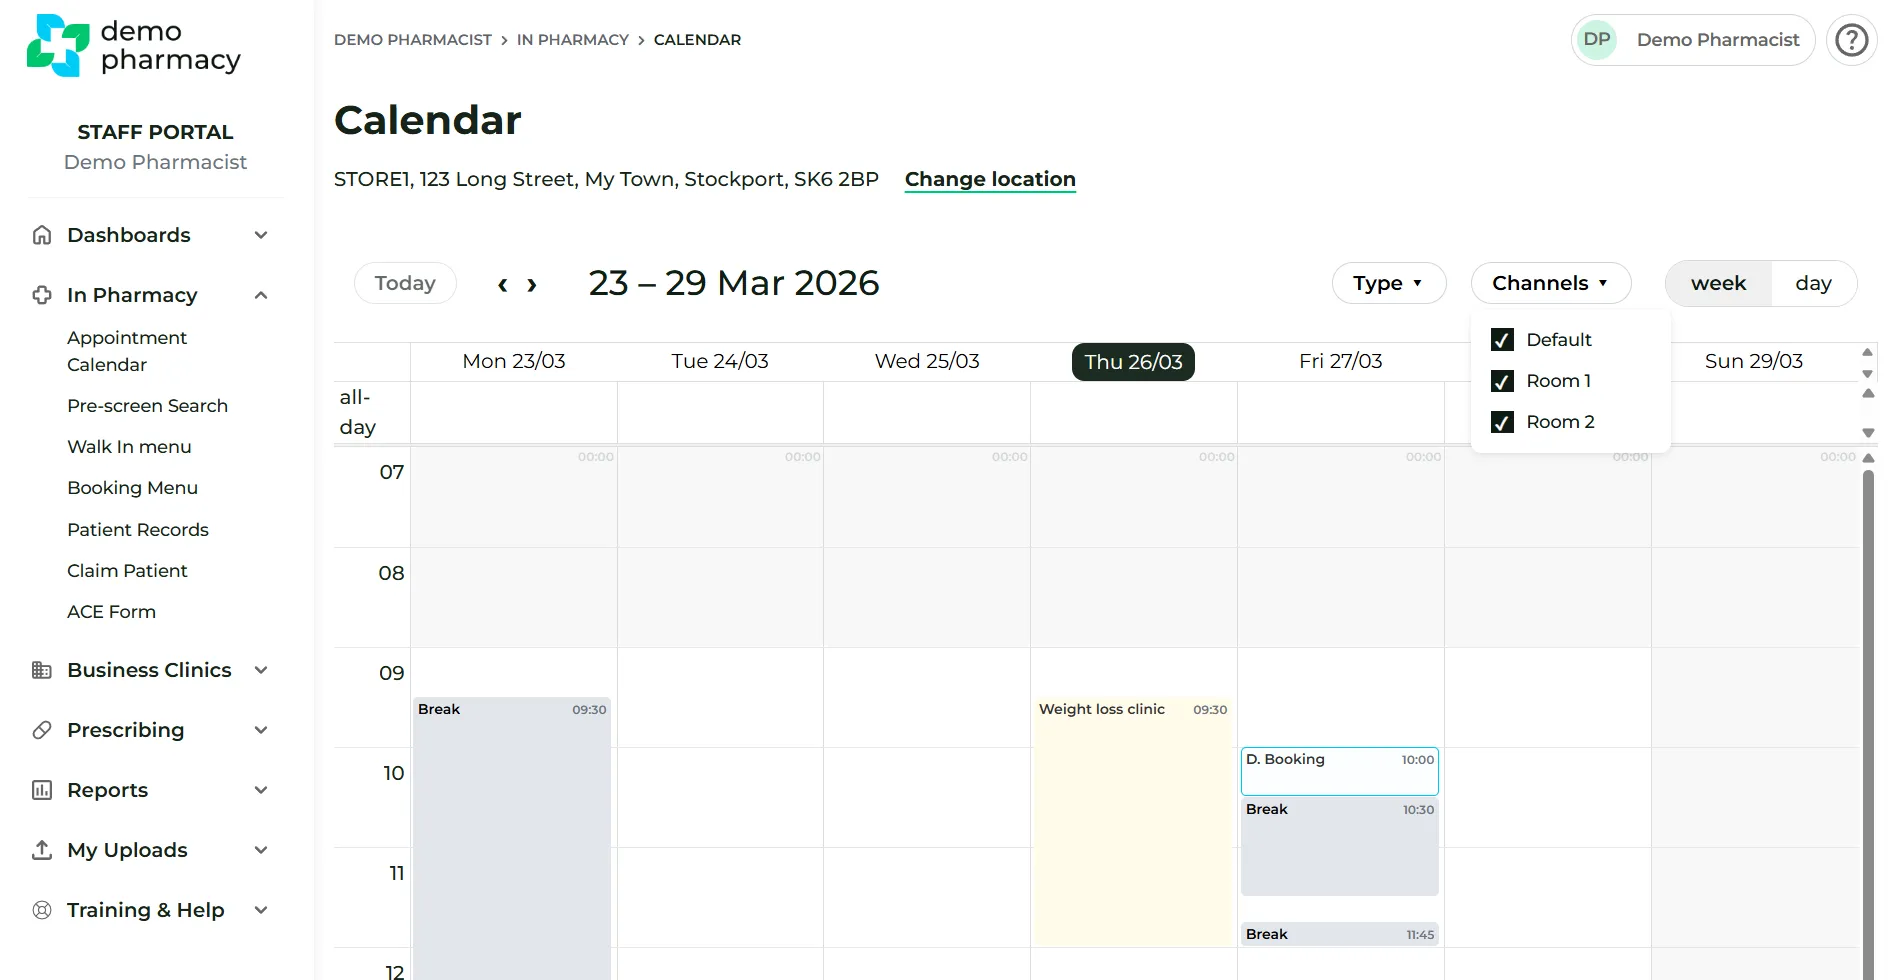
Section titled “The Appointment Calendar”The Appointment Calendar (click Calendar in the left-hand menu) provides a visual layout of your bookings across these different streams.
- All Appointments: The default view is set to ‘All appointments’, showing the full capacity of the pharmacy.
- Switching Views: You can use the channel filter on the calendar page to toggle between a “Master” view of the whole pharmacy or a “Siloed” view of a specific channel.